DynamoDB is a NoSQL database service provided by Amazon Web Services, which means it is designed to store and retrieve any amount of data you require, this can be very useful in an Android or iOS application. In this tutorial, we are going to go through all the steps of connecting Amazon DynamoDB in your android application.
Set up
Before we get started with the setup, it is important to tell you that for you to connect AWS DynamoDB, you must have an AWS account and Android studio.
After you set up your AWS account and your Android studio, you have to get the AWS Mobile SDK for Android. And how do I do that you may ask, well there are three easy ways of doing it:
1. Using gradle
In your build.gradle file, you are going to add the next dependencies as shown in the example below
- dependencies{
- compile ‘com.amazonaws:aws-android-sdk-core:2.6.+’
- compile ‘com.amazonaws:aws-android-sdk-s3:2.6.+’
- compile ‘com.amazonaws:aws-android-sdk-ddb:2.6.+’
- compile ‘com.amazonaws:aws-android-sdk-core:2.4.4’
- compile ‘com.amazonaws:aws-android-sdk-ddb:2.4.4’
- compile ‘com.amazonaws:aws-android-sdk-ddb-document:2.4.4’
- }
2. Importing Jar files
For you to get the Jar files, you have to download the SDK from http://aws.amazon.com/mobile/sdk where you’ll see the next screen.
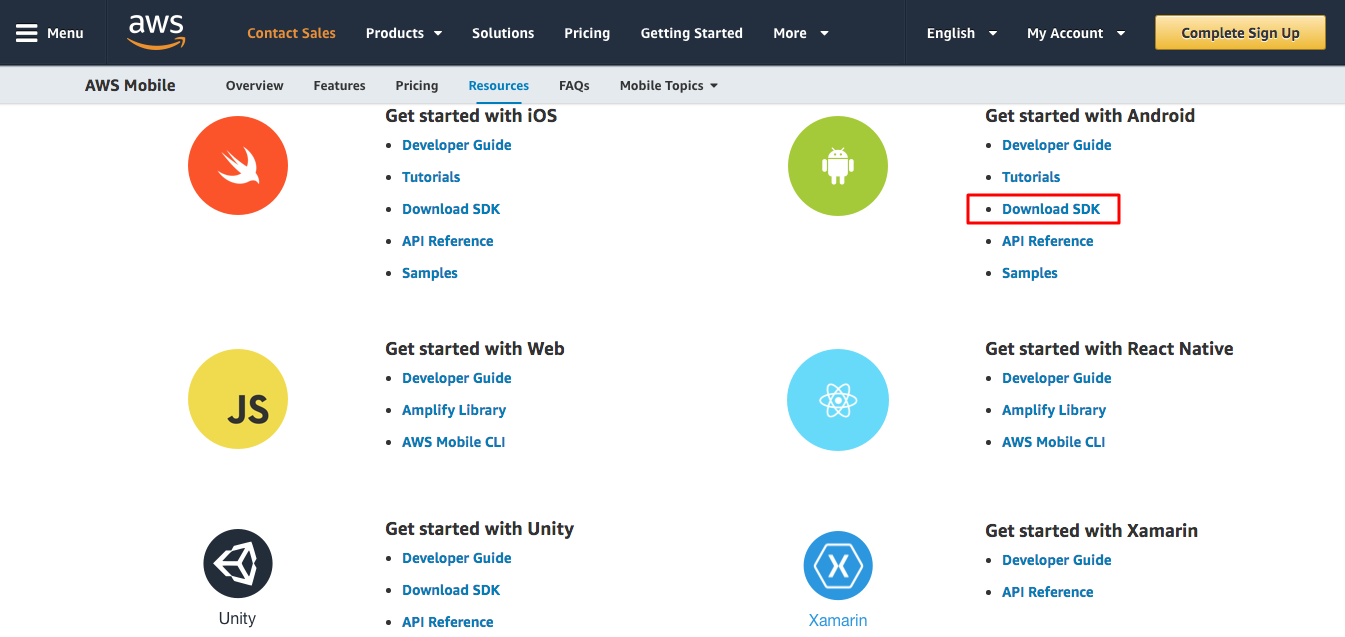
In the android section click on the Download SDK link, it will automatically start downloading the file on your browser. Then on android studio add the downloaded file to your /libs folder and sync the project, it will be automatically updated.
3. Using maven
This SDK we are trying to download supports Apache maven, which is a software that can help manage a project’s build. Every maven project contains a pom.xml in which you can specify the services you want to be added to your project. This is helpful because it only adds the dependencies you need, not all the jar files.
Okay so now that you have the SDK installed in your project, we can proceed with the setup. The next step is pretty easy, in your AndroidManifest.xml you are going to add the permissions as shown in the example below.
- < uses:permission android:name=”android.permission.INTERNET” />
- < uses:permission android:name=”android.permission.ACCESS_NETWORK_STATE” />
- < uses:permission android:name=”android.permission.ACCESS_WIFI_STATE” />
The last step is that you have to get your AWS credentials.
Okay now that you have set up the AWS SDK in your project let’s continue with the connection between your project and your database stored in Amazon DynamoDB.
Creating a new table
To create a new table, we need to get into the console to give a name to the new table and select a primary key for the data that’s going to be stored in it. Next, you click continue and you have to choose the throughput capacity of the table (read capacity units and write capacity units). In the next step, you can select a limit of requests which in the case you pass it you’ll be notified via email. Lastly, click on “create table.”
Let’s get to it, now that you have all the previous set up and the table created you are ready to connect DynamoDb to your Android project. First of all, you need to import a library in your java class as shown in the example below:
- import com.amazonaws.auth.CognitoCachingCredentialsProvider;
- import com.amazonaws.mobileconnectors.dynamodbv2.document.Table;
- import com.amazonaws.mobileconnectors.dynamodbv2.document.UpdateItemOperationConfig;
- import com.amazonaws.mobileconnectors.dynamodbv2.document.datatype.Document;
- import com.amazonaws.mobileconnectors.dynamodbv2.document.datatype.Primitive;
- import com.amazonaws.services.dynamodbv2.AmazonDynamoDBClient;
- import com.amazonaws.services.dynamodbv2.model.ReturnValue;
Now that you have the imports you are going to add the code shown below:
CognitoCachingCredentialsProvider credentialsProvider = new CognitoCachingCredentialsProvider(
getApplicationContext(), COGNITO_POOL_ID, COGNITO_REGION);
What this code does is that we are creating Amazon Cognito credentials for access permissions, next you are going to create a DynamoDbClient object using the Cognito Credentials created above as shown in the example below:
AmazonDynamoDBClient dbClient = new AmazonDynamoDBClient(credentialsProvider);
And finally you are going to create a table reference like this:
Table dbTable = Table.loadTable(dbClient, TABLE_NAME);
Now that you have the table reference you can create, read, edit and delete data from your table:
Create
- public void create(Document memo) {
- if (!memo.containsKey(“userId”)) {
- memo.put(“userId”, credentialsProvider.getCachedIdentityId());
- }
- if (!memo.containsKey(“noteId”)) {
- memo.put(“noteId”, UUID.randomUUID().toString());
- }
- if (!memo.containsKey(“creationDate”)) {
- memo.put(“creationDate”, System.currentTimeMillis());
- }
- dbTable.putItem(memo);
- }
Update
public void update(Document memo) {
Document document = dbTable.updateItem(memo, new UpdateItemOperationConfig().withReturnValues(ReturnValue.ALL_NEW));
}
Delete
public void delete(Document memo) {
dbTable.deleteItem(
memo.get("userId").asPrimitive(),
memo.get("noteId").asPrimitive());
}
Read
- public Document getById(String id) {
- return dbTable.getItem(new Primitive(credentialsProvider.getCachedIdentityId()), new Primitive(noteId));
- }
- public List <Document> getAll() {
- return dbTable.query(new Primitive(credentialsProvider.getCachedIdentityId())).getAllResults();
- }
And there you go, you have successfully connected your Android project to Amazon DynamoDb, in ClickIT we use technologies like DynamoDb and AWS to give better quality to our client’s projects and to keep them updated with today’s best technologies.