Introduction
Heroku is a platform that allows us to have the necessary environment to deploy an application. Once you sign up and get a paid account, it allows you to host your own domain and apps in different programming languages in practice today, like: Java, Node.js, Ruby, PHP, etc. Let’s talk about the basic requirements you need to take care of to make an application deployment on Heroku.
Table of contents
Requirements
1. To begin with, we need to create an account with Heroku. It is free to begin with. In case you don’t have an account, you must register yourself on: https://signup.heroku.com/?c=70130000001x9jFAAQ
2. Once you’ve created an account, log in.
3. It is required to connect the repository that contains the application, in this case we will use Bitbucket, since it allows to have 3 private repositories. With a private repository, we can avoid any chance of repository cloning and our information remains secure.
4. By last, you need an app previously developed on any Heroku’s allowed languages. In this case we’ll use an app on Node.js
Starting the process
There are three important steps you need to follow to accomplish the purpose of this blog. First of all, you need to deploy your application on Heroku. Then, you’ll need to migrate and configure your remote database on Heroku and finally to migrate it from Heroku to Google Cloud Platform.
1. Deployment on Heroku
After you logged in on Heroku’s page:
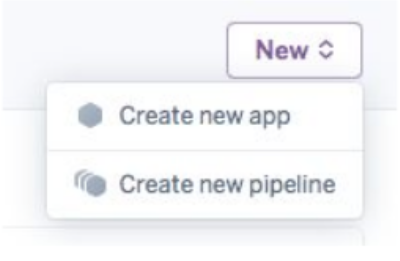
1.1 Go to personal apps, select New and create new app.
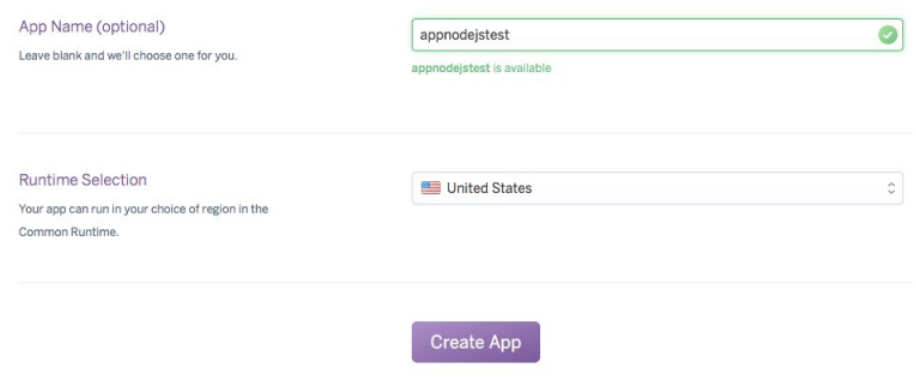
1.2 It will ask you for the app’s name and region we’re going to create.
1.3 We need Heroku Command Line Interface (Heroku CLI) previously installed. Go to the terminal with the next commands:sudo apt-get install software-properties-common
sudo add-apt-repository "deb https://cli-assets.heroku.com/branches/stable/apt ./"
curl -L https://cli-assets.heroku.com/apt/release.key | sudo apt-key add -
sudo apt-get update
sudo apt-get install heroku
*These commands are only for Debian OS.
1.4 The next step is to clone our app repository to our local machine. To start with the deployment run these commands inside of the directory:
heroku login
git add.
git commit -am “Silence is golden"
*Log in with your Heroku’s email and password.
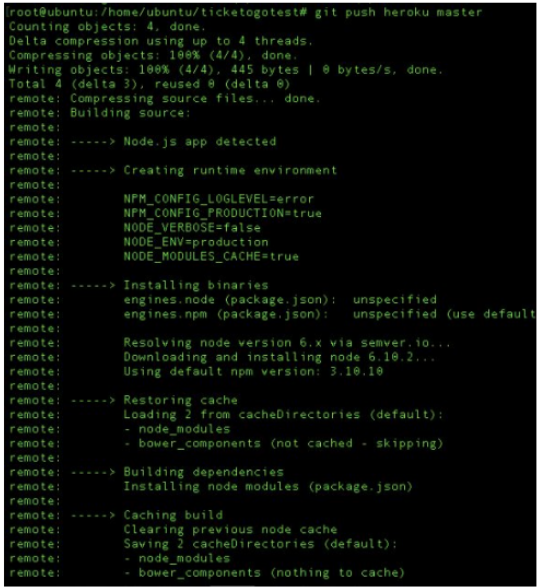
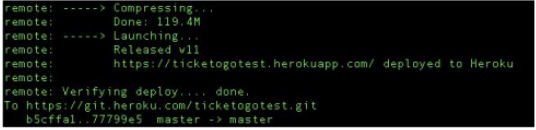
1.5 This last command is the most important since it will upload and execute your app on Heroku:
git push heroku master
The output should be this way:
2. Remote Database migration and configuration on Heroku.
Heroku manage its databases through Amazon RDS. It has some options like MySQL, PostgreSQL, etc. This would happened with some Add-ons depending on your database; the Add-ons are free but your user must be linked to a debit or credit card.
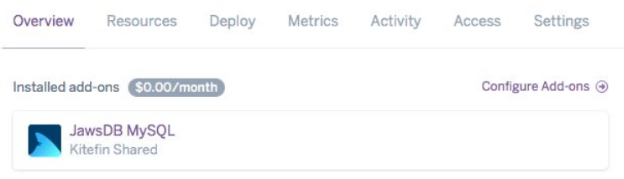
We’re going to use the Add-on “JawsDB MySQL” since it counts with an space of 5mb. In case you need more space, you must pay a mensual plan that allows you to manage it better.
2.1 We proceed with the installation by implementing the next command:
heroku addons:create jawsdb:kitefin
2.2 Once you had the Add-on installed in the explorer of your Heroku account, select the app you had created on “Personal app”. Go to “Overview” and click over “JawsDB MySQL” on the installed Add-ons.
That click will open you the next tab. It contains the user, the password and the RDS host to import the database.
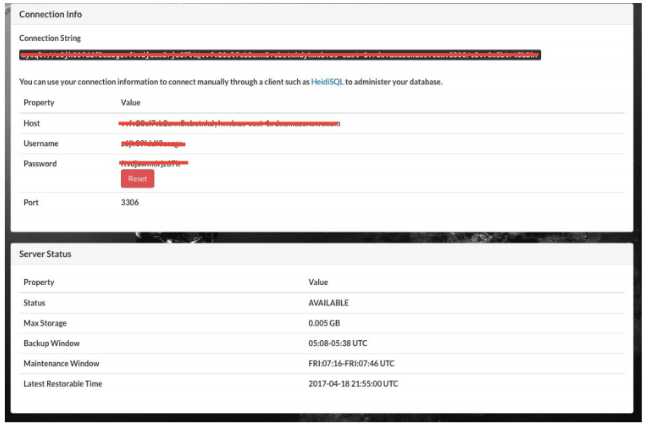
2.2.1 This data allow you to remotely connect and import the database though the MySQL client. If you don’t have it installed, then do it with the following command:
sudo apt-get install mysql-client
2.2.2 Then we need to connect the RDS with the next command:mysql -u USUARIO -h HOST -p
*After that, you need to insert the password next to the “-p”, but for security I don’t fully recommend you this, since your password will be in the history.
2.3 We are going to be able to see the database name that allows us to use the Add-on after implementing the show database command. Import in there the database and put it on the app configuration files.
2.4 After updating the configuration files, run the followings commands:git add -A
git commit -am "Silence is golden"
git push heroku master
2.5 To finalize, we must run the next command specifically in the terminal of our team.

If everything went well, then the explorer will be open by your app. Just in case that your terminal can not open your explorer, then it will show you a link with your app correctly working.
Conclusion
Now you have the basis to make an application deployment on Heroku. There’s a second part if you want to continue the process, it is about migrating your database from Heroku to Google Cloud Platform. Here in ClickIT we like to help you with any process you’re about to accomplish, contact us if needed.
What Problems does ClickIT solve?
- We HELP agencies and enterprises migrate, build and operate web applications on AWS.
- We HELP grow and scale web applications to have more visitors, customers and leads.
- We SOLVE the gap between a digital company and Amazon Web Services hosting provider. Everyone love AWS, but who will bring superlative expertise to operate their digital products within AWS?
- And we HELP cut DevOps and AWS operating expenses due to our affordable implementation costs without compromising quality. What is NearShore Outsourcing?