We are constantly creating EC2 instances in the AWS cloud, that’s why we want to share our experience to allow many users to be able to use this service as they require to launch their applications on the Cloud.
This tutorial will show you how to create a server on AWS in which these are called “instances” along with an operative system and software required.
Table of contents
Let’s take a look at the process:
1. Get an AWS Account
First of all, we must obtain an account to use AWS, (go to step 2 if you already have one). You can register at aws.amazon.com. Now, the easiest way to start using AWS is with the Free tier program which provides free services with a limit of available hours per month, which can be used to launch an application and run it on AWS.
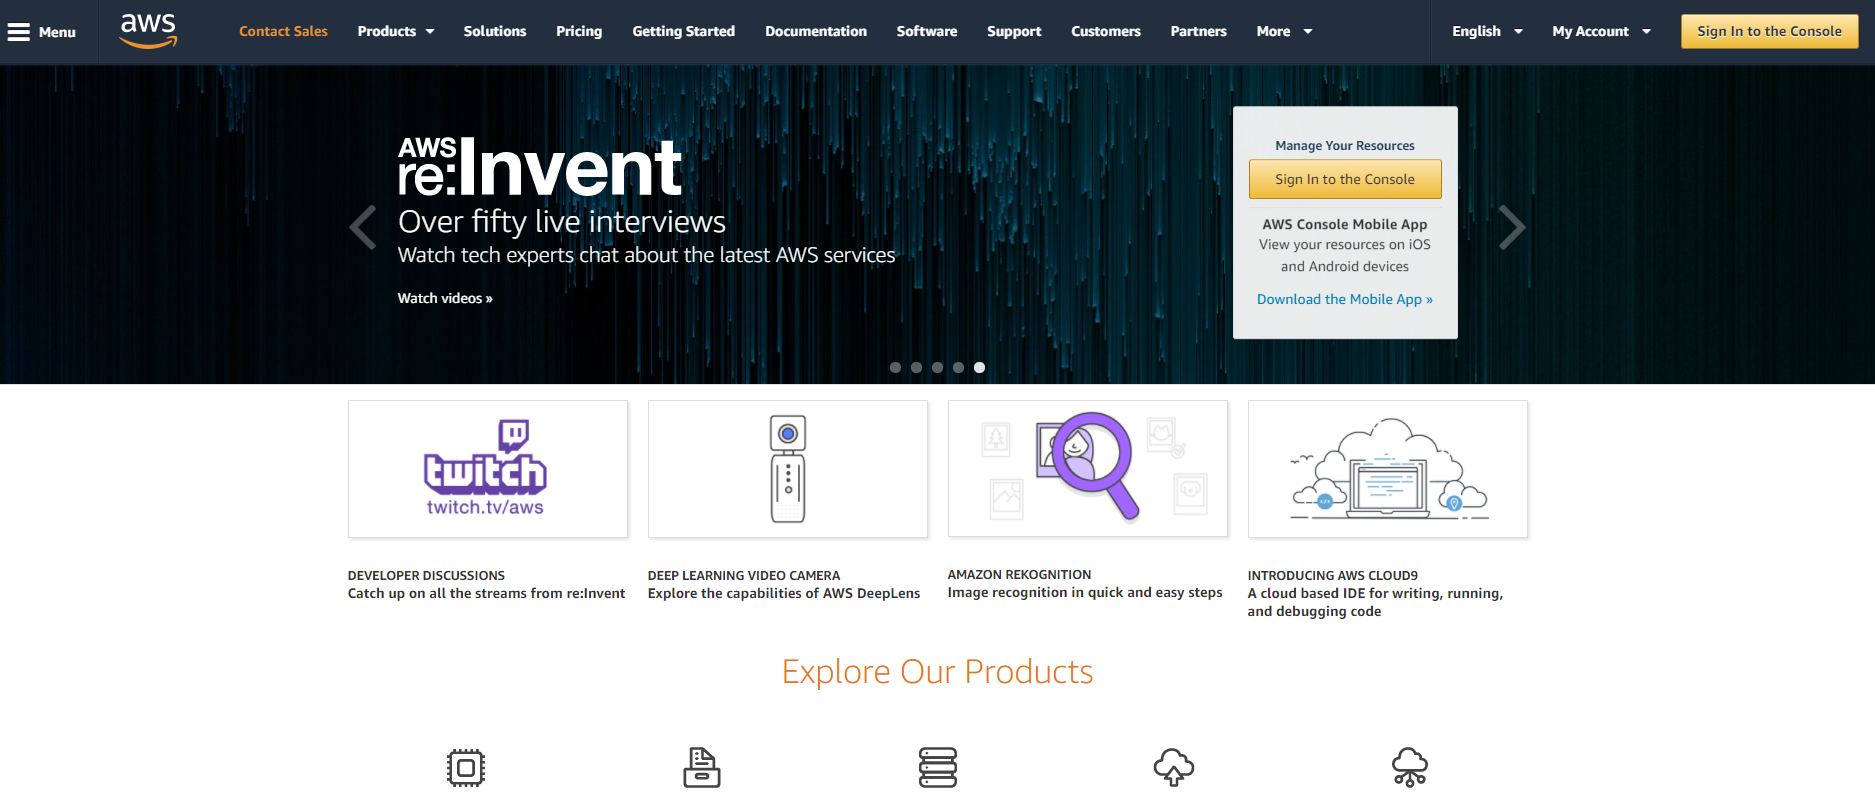
2. Enter to the EC2 panel
Next, we will proceed to enter the EC2 service panel. In this, we can find everything related to the EC2 service as Instances, Images, Storage, Networks, Load Balancing, Auto Scaling, System Administrators Services.
The user panel can be a bit overwhelming due to the number of elements it has. Make sure to locate only in “Instances.” There you will be able to visualize a table in which it specifies several attributes of instances.
This is where our launch will begin.
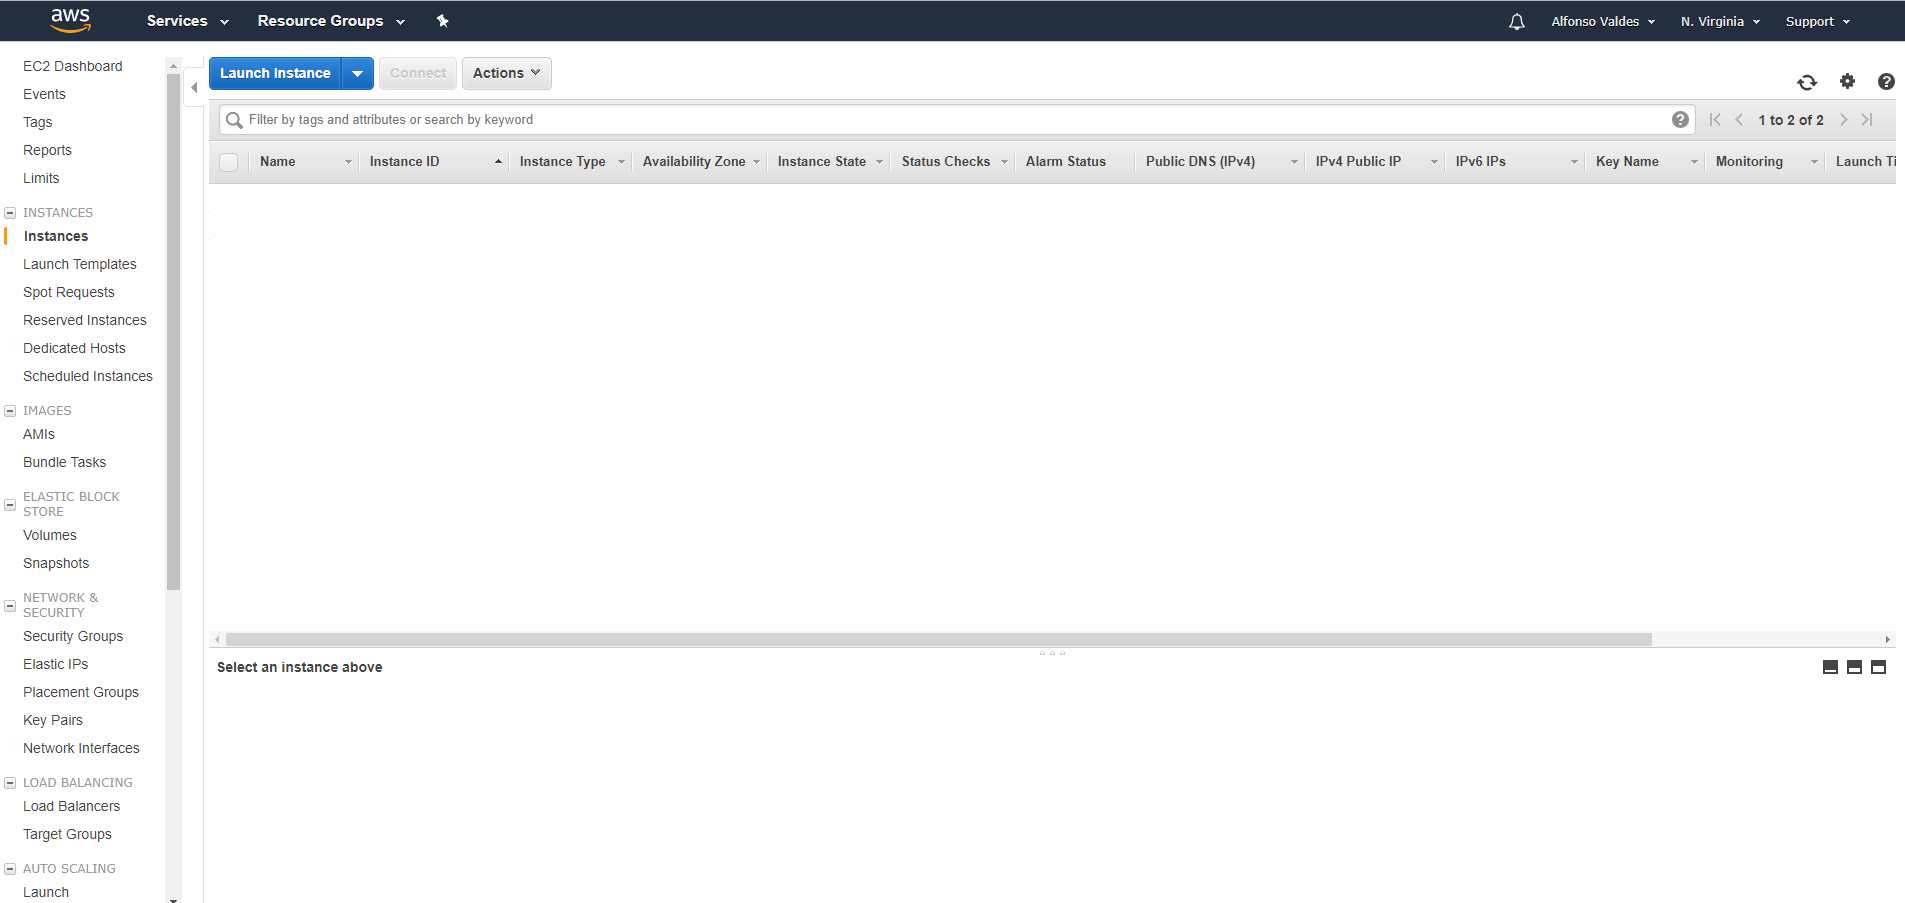
3. Click on “Launch Instance”
It will take us to a process where we will have to configure our instance. Amazon allows us to set the Operating System, the type of instance, that is, the number of cores and memory that we seek, the amount of storage and the firewall or firewall.
Note: We can also launch instances with preconfigured images available from the “Marketplace” of AWS.
4. Configure instance details.
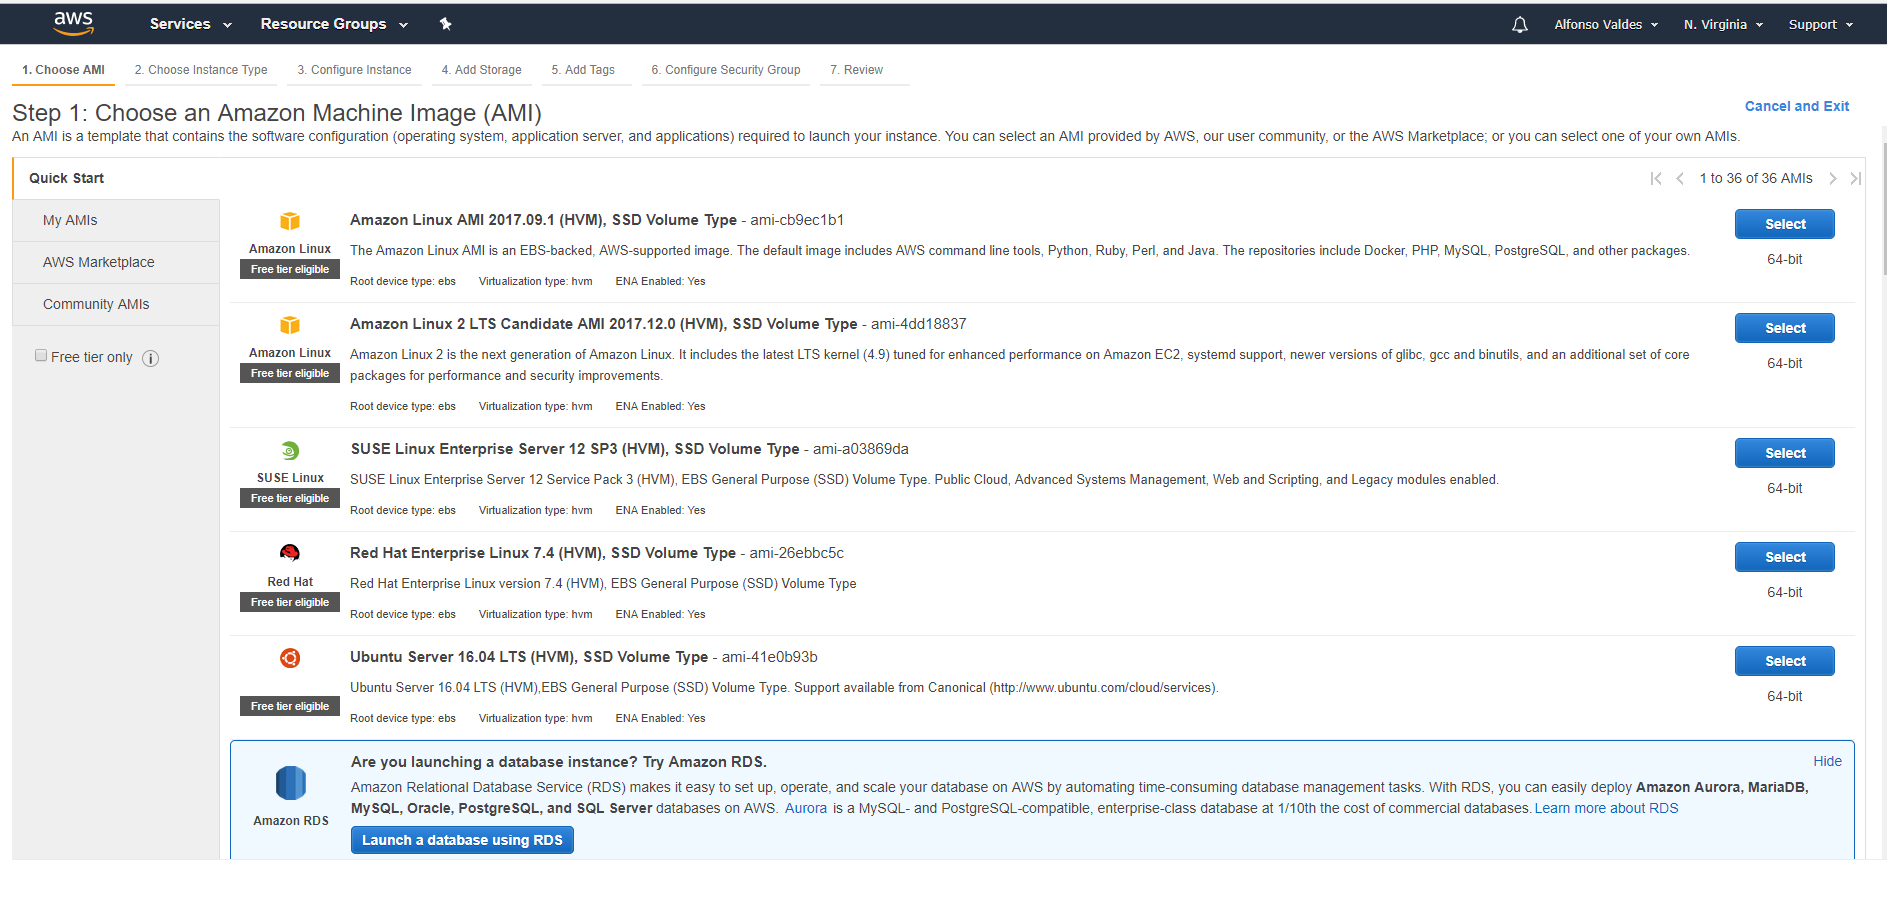
a. Select AMI
The first screen that will appear is to select the operating system that we want in the instance.

b. Select Instance Type
Selecting the type of instance can be overwhelming because of all the types that exist and continuously evolve, basically it is to choose the characteristics of your instance. (CPU, RAM, Transfer).
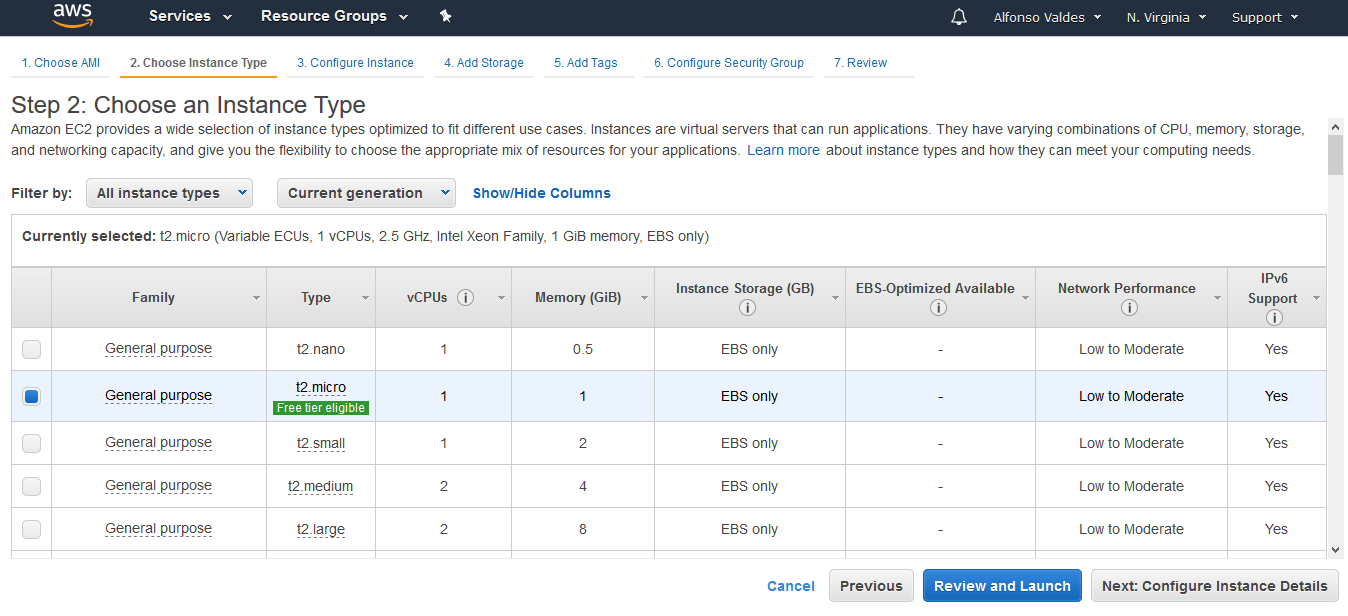
Provisioning advice: if the amount of traffic has already been measured or you know the specs that are needed, select the desired in AWS. If you do not know, it is recommended to overprovision, since with a few clicks and adjustments you can launch a new instance adjusted to the needs. With this, we can launch applications in minutes, avoid saturation and speculations to reduce costs.
c. Configure Instance Details
Here is the complicated part, if we are new in everything from networks, autoscaling, roles, etc., it will be difficult for us to change everything that appears on the screen. But do not worry, AWS does us the favor of placing default values which should be used for any application.
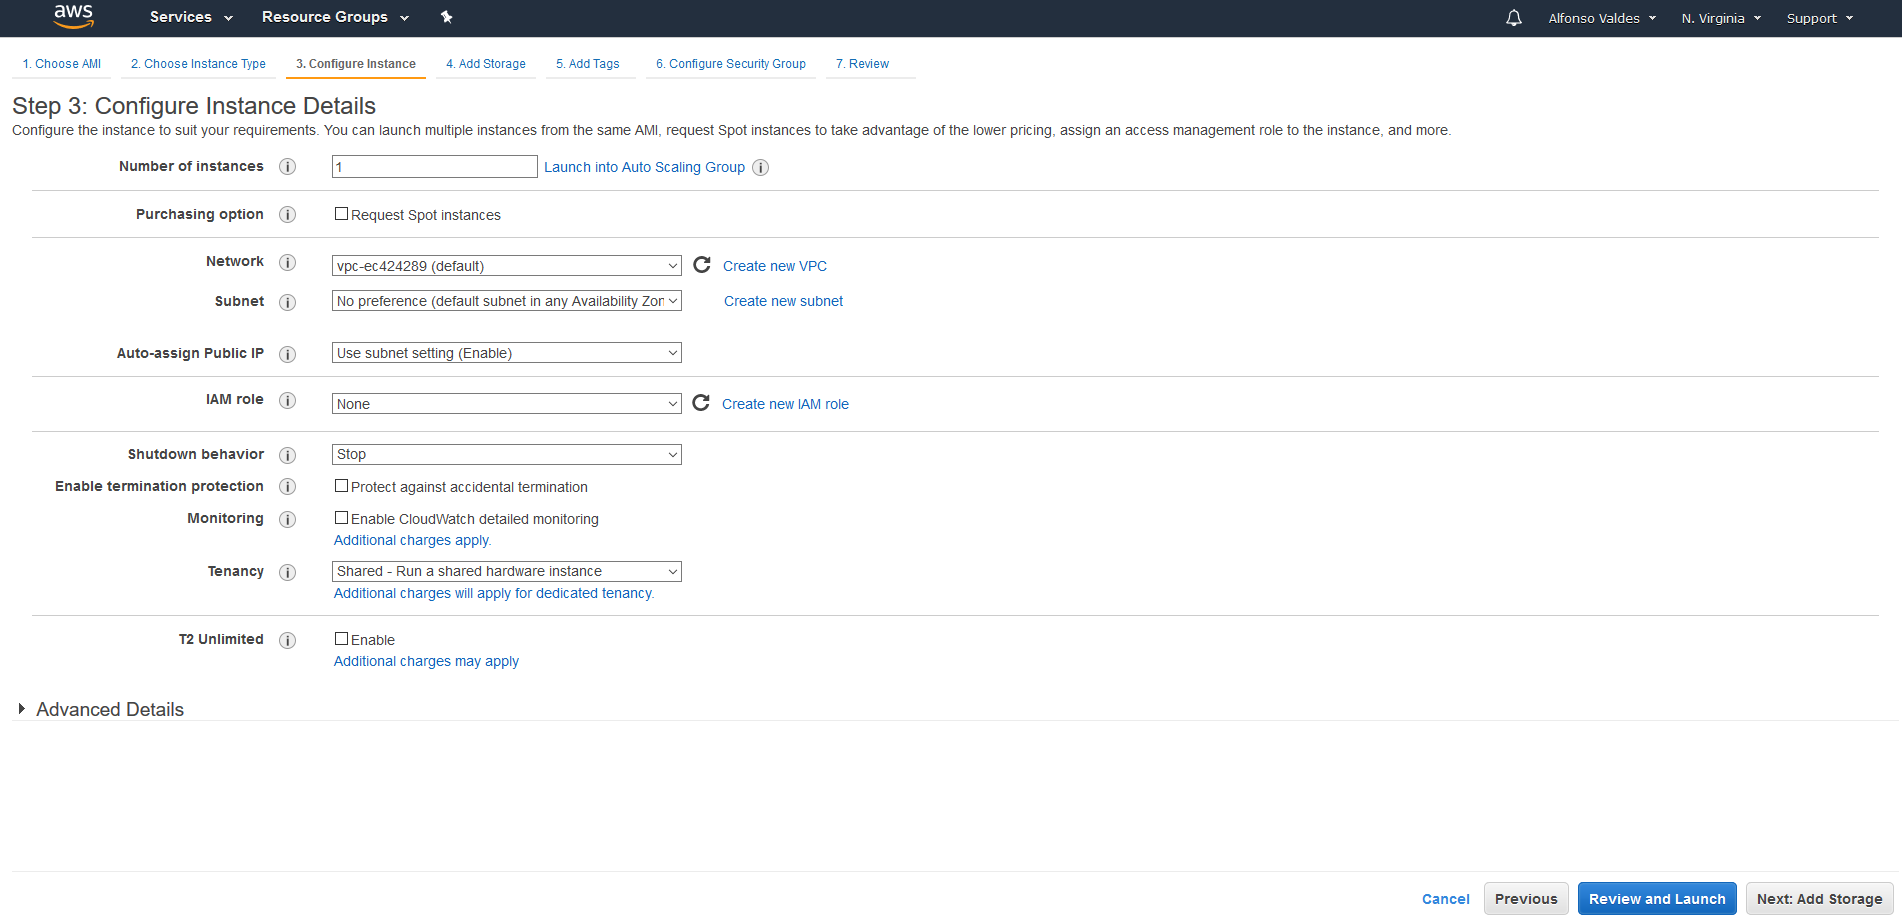
Just click on “Next: Add Storage” to configure the storage d. of the instance that will be in “EBS” by default Amazon provides us with 8 GB, with a limit of 30 GB for the Free tier.
Here we can change the type of volume that we look for and the size of the disk.

Note: If you do not think the implementation of labels is necessary, we can skip this step.
e. Add Tags
Adding tags is nothing more than labeling your instances to identify them.
Implementing labels is a good practice to differentiate if we have many instances, multiple environments or whether we are using several Amazon services, we can send our server based on the tags.
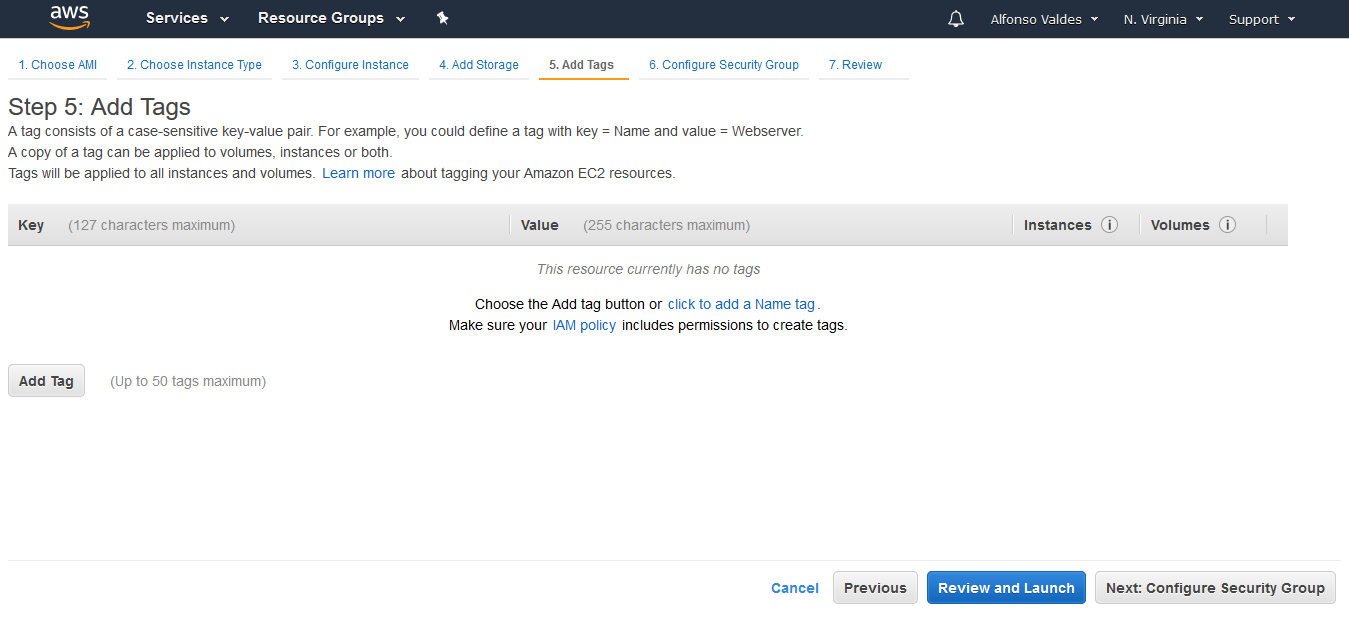
If you do not think the implementation of labels is necessary, we can skip this step.
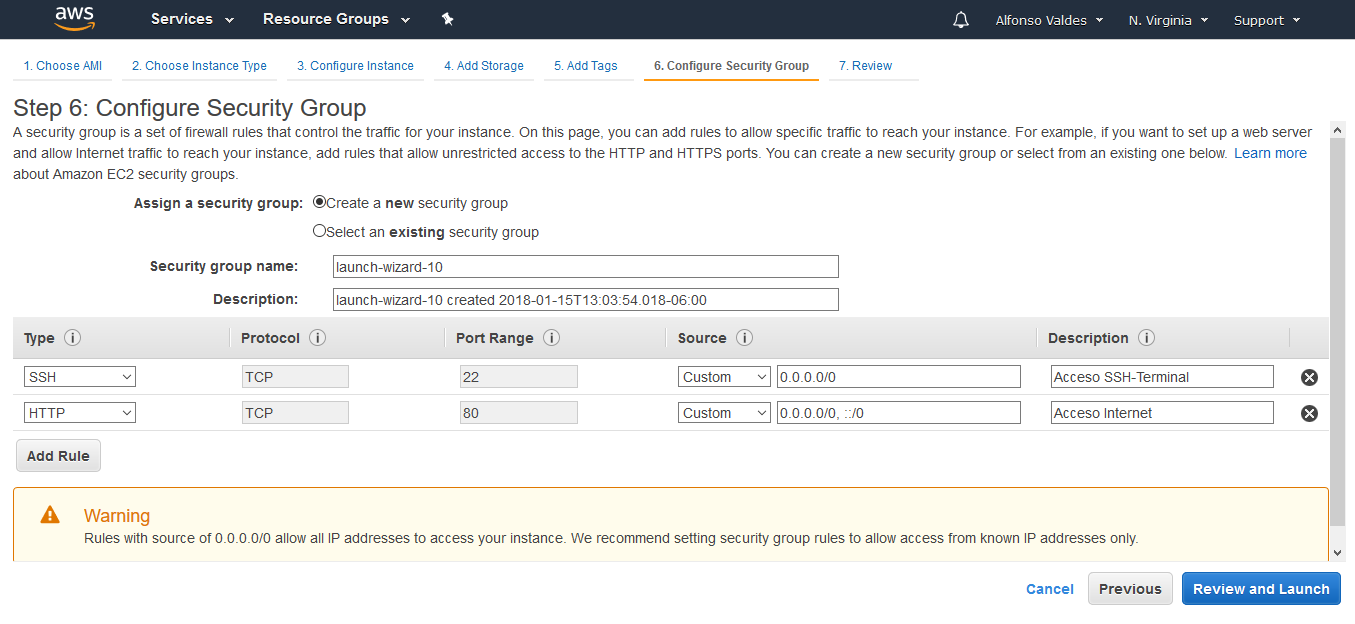
f. Configure Security Group
In this step, it will be where we will select the ports that we seek to open for the connectivity of our instance.
Amazon for security and by default enables port 22 only, that is, if we want to have other ports open, we need to configure the “Security Group.”
To ensure the functioning of our instance by SSH and by the internet protocol HTTP, we will place a new rule that will allow traffic to our instance through port 80. (See image below).
g. Review configuration
The last step is to review our configuration, which will show us what we put in each step of the process.
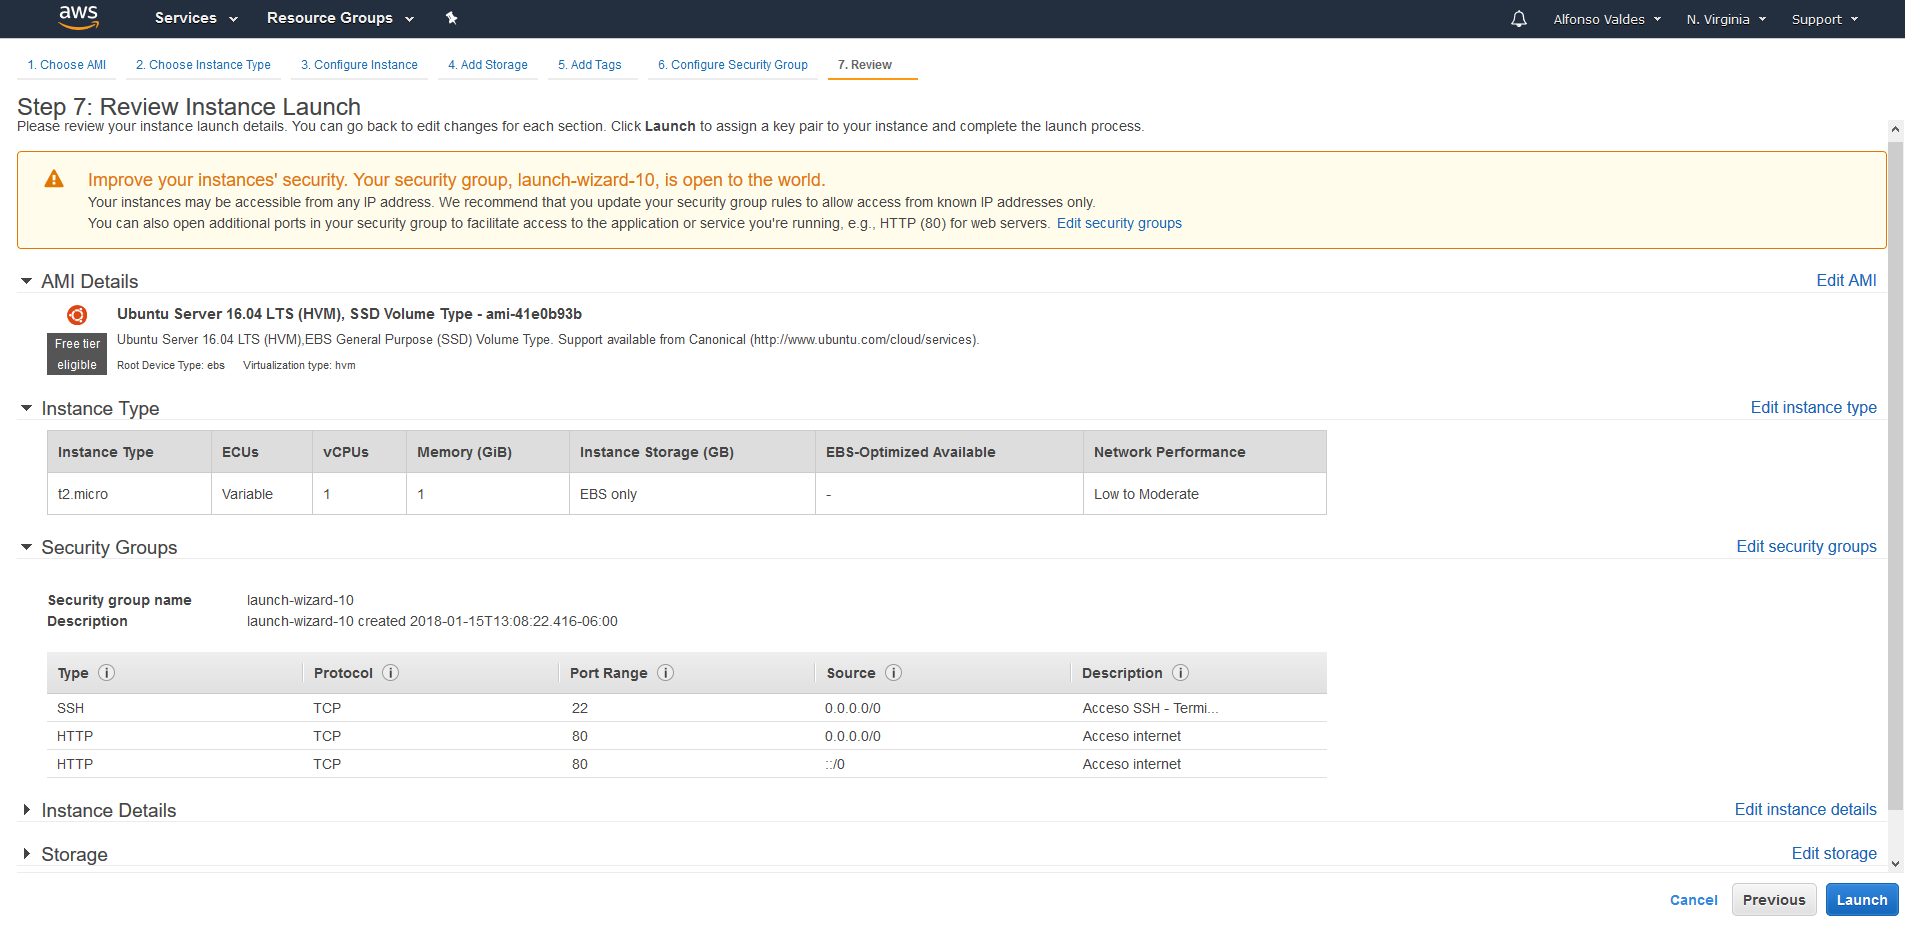
Once reviewed, we must click on “Launch” for instance to be launched.
h. Create a pair of keys for access to the instance (optional)
If we are new to the AWS console, we will be asked to create a new pair of keys which are necessary to access the server via SSH.
What you need to do here is just name our key and download it.
If you already have a pair of keys, they can be reused for this new instance.
With it, we can connect to our server.
As you can see the process is practical and straightforward, anyone could launch a server without necessary knowledge or have a technical profile or systems.
I hope you have liked them, if you think we can improve the process or require a more in-depth explanation of the service, please comment.